
Reviewed · PHOTOGRAPHY SESSIONS
Amsterdam Photography Masterclass – Private Photography Lesson
A private Amsterdam Photography Masterclass is a smart way to get past point-and-shoot luck and turn famous streets into a repeatable photo plan. You can book it for daytime or evening, so you are not stuck with only one kind of lighting.
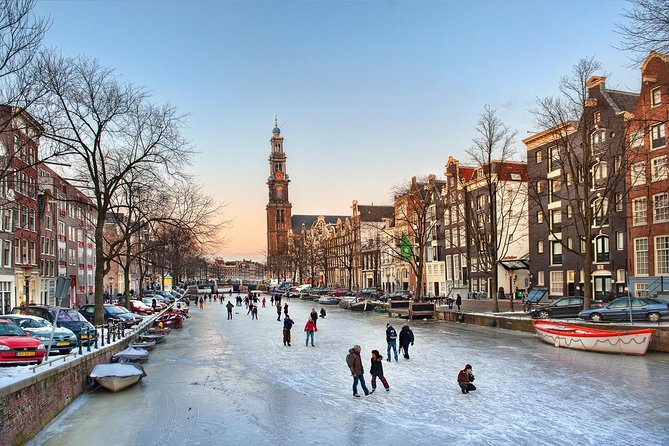
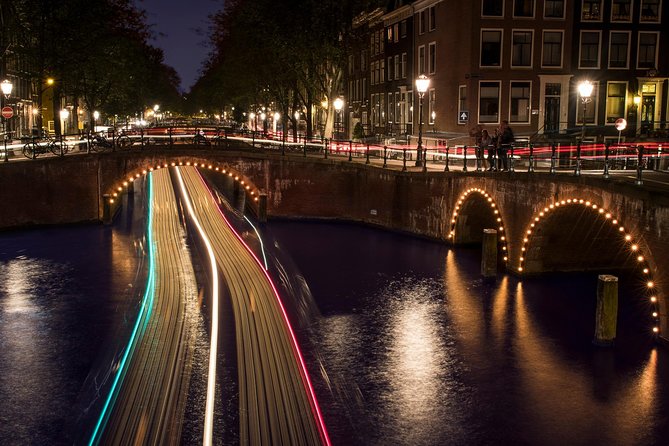
I especially like the hands-on teaching. You work with a professional photographer guide who helps you make better choices fast, then you walk to some of Amsterdam’s most camera-friendly corners, from Leidsegracht bridges to Magere Brug.
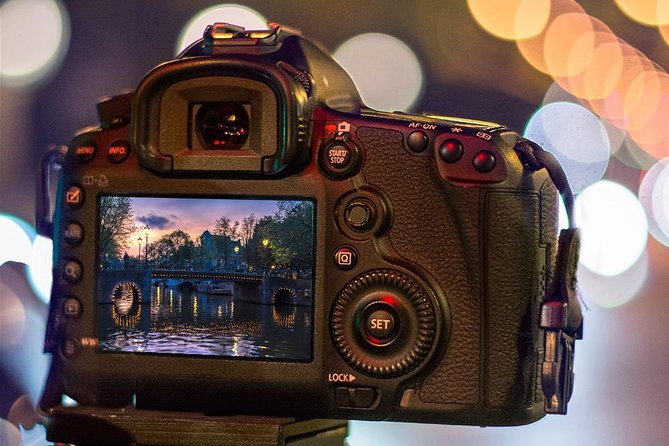
One heads-up: you bring your own DSLR camera. A tripod is only available if you request it, so plan your gear before you meet up.
Key Points You Should Know Before You Go
- Private group (max 4 people) means you get more personal coaching instead of rushing in a crowd
- 3 hours, about 9 photo stops keeps the momentum and still gives you time to practice
- Free admission at scheduled stops lowers the hassle of ticket guessing while you shoot
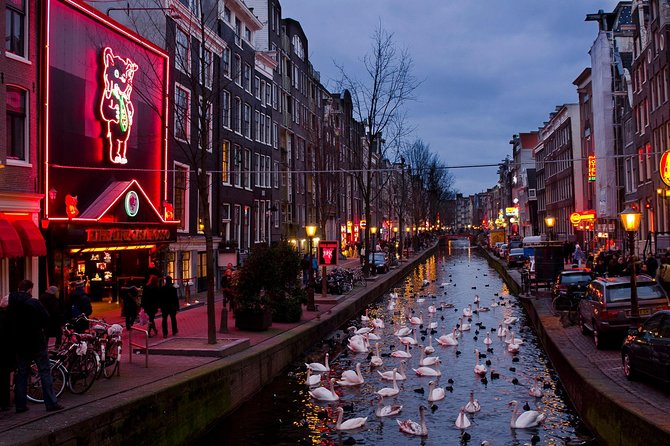
- Day or evening options let you learn different approaches, including night-photo fundamentals
- Instruction from named guides like Renzo and William focuses on practical camera settings and quick results
- Works in all weather, so bring layers and expect to keep shooting if it rains
Why This Private Photo Lesson Fits Amsterdam So Well
Amsterdam is one of those cities where your camera can easily become a souvenir maker. You see a postcard view, you click, and you move on. This experience tries to solve that problem by giving you structure while you are still walking through real streets.
You are not just being shown spots. You are learning how to use your camera in the places you actually want to photograph. That matters because Amsterdam rewards choices. A bridge angle, a canal reflection, the way buildings line up along a street, all of it can look very different depending on where you stand and what your settings are doing.
Also, the pace is built for learning. The session runs about 3 hours and is broken into short shooting blocks. That rhythm is great when you are still figuring out exposure, focusing, or basic composition. You get feedback, then you try again.
More hands-on workshops in Amsterdam:
- Amsterdam: Traditional Dutch Syrup Waffle Making Workshop
★ 4.8 · 4,093 reviews - Amsterdam Traditional Dutch Syrup Waffle Making Workshop
★ 5.0 · 960 reviews - Amsterdam: Bols Cocktail Experience and Cocktail Workshop
★ 4.8 · 666 reviews
Price and What $204.24 Buys You in Real Terms
At $204.24 per person, this is not a casual walk with a guide. It is a DSLR-focused lesson with a professional photographer guide plus a local guide, and it is private for your group.
Here is the value logic. If you are already in Amsterdam and you want photos that look intentional, hiring instruction can save time. Instead of spending the rest of your trip experimenting alone, you get coaching while you are standing in front of the exact scenes you came for.
The max group size of 4 people is important too. Even with only two or three people, the instructor can still give your camera settings and framing more attention. That matches what people praised most, clear teaching and fast improvements.
If you are traveling solo, the price still may feel steep, but you are paying for attention. If you are traveling with a partner or a small group, it gets more attractive because the experience is still the same quality, just shared.
Meeting Point, Timing, and How the 3-Hour Flow Works
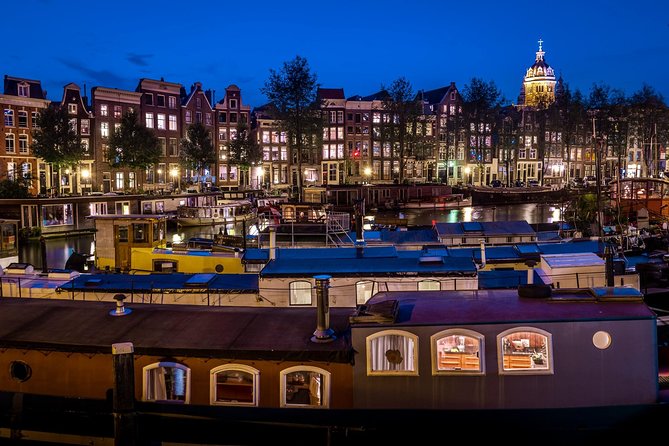
You meet at Leidsekade 97, 1017 PN Amsterdam. This is the start and end point, so you are not constantly reshuffling transport plans. It also keeps things simpler at the end of the session, especially if you are squeezing this between museum time and dinner.
Departure time depends on your selected date, and you should check the scheduled time carefully before you go. The session runs about 3 hours, and each planned stop has a short shoot window, which helps you practice without feeling like you are standing around waiting for the next location.
It operates in all weather conditions, so dress for damp streets and wind. You will likely walk. Even if your photos are the goal, the session is built around being mobile, not hiding in one place.
Stop-by-Stop: Amsterdam’s Nine Photo Hits (and What to Practice at Each)
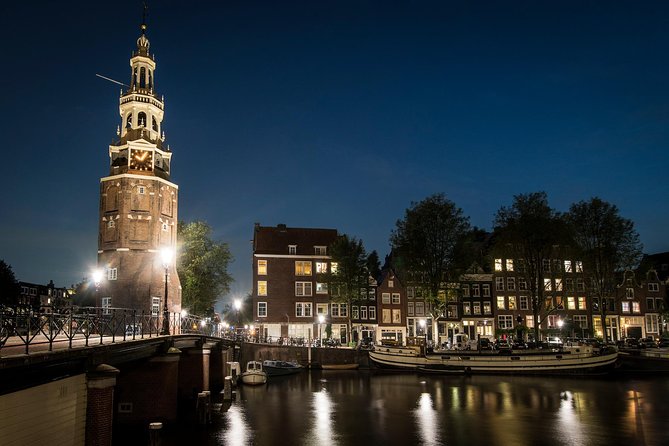
The route is designed to cover variety. You get a mix of subjects: a statue, narrow street texture, canals and bridges, major landmarks, and a church. That variety is exactly what you want in a lesson, because it teaches you how to adapt settings and composition.
Below is what you can expect at each scheduled stop, plus the practical goal for your camera practice.
More photo tours in Amsterdam:
- Amsterdam Canal, Tulip, Windmill Photoshoot | Custom Request
★ 4.9 · 307 reviews - Amsterdam Canal, Tulip, Windmill Photoshoot | Custom Request
★ 5.0 · 147 reviews - Amsterdam: Foam Photography Museum Admission Ticket
★ 4.2 · 141 reviews - Premium Romantic Photoshoot Experience for Couples
★ 4.7 · 43 reviews
Amsterdams Lieverdje Statue
The session starts with Amsterdams Lieverdje. This is a strong first target because it is an object you can approach, refine your framing, and practice focusing and steadiness.
What you should work on: clean subject focus, and how to avoid distracting clutter in the background. If you are learning your DSLR controls, starting here helps you get your hands moving before you hit the canal views.
Admission is listed as free for this stop, so the focus stays on shooting, not ticket logistics.
Voetboogstraat and the Voetboogsteeg Area
Next you move to Voetboogstraat for shooting around the Beijbhof de Voetboogsteeg area. This kind of street stop is great for learning composition because narrow spaces force you to think about lines and angles.
What you should work on: finding leading lines and keeping perspective tidy. When street scenes feel messy, the camera settings can be correct but the framing may still need tightening. This is where you learn to correct both.
Again, the stop is scheduled with free admission.
Leidsegracht Bridges
Then it is Leidsegracht, focusing on the bridges along the canal. Bridges give you structure, and canal scenes often reward careful positioning.
What you should work on: balancing foreground and background. If you are learning exposure, this stop is also useful because the lighting can change quickly around open water and stone facades.
This stop is also scheduled with free admission, which keeps the lesson smooth.
Rijksmuseum and Grounds
At Rijksmuseum, you shoot the museum and grounds. This is your big landmark stop, and it is valuable because you have to switch from small-detail thinking to wider framing.
What you should work on: creating a strong wide shot, then switching to tighter compositions. With a DSLR, this is a great moment to practice switching lenses or adjusting focal length, if you have that option. If you only have one lens, you can still practice by changing your distance and angle.
Admission is listed as free for this scheduled part, which helps you focus on composition rather than planning breaks.
Magere Brug Over the Amstel
Now you hit Magere Brug and the Amstel. Bridges plus water are a classic photography combo. In practical terms, this is where you practice your approach to light and reflections, especially if you chose an evening session.
What you should work on: making choices about brightness and contrast. If the sky is darker or brighter than the buildings, your camera settings have to do real work. This stop is ideal for learning how your exposure responds to changing conditions.
Free admission is listed for this stop.
Nieuwe Kerk
Next is Nieuwe Kerk. Churches can be tricky because you might want to capture height, symmetry, and detail all at once.
What you should work on: vertical lines and avoiding skewed architecture. Even small stance changes can make a big difference in how straight buildings look in your frame.
Admission is also listed as free here.
Blauwbrug
The route continues to Blauwbrug. This is a bridge stop that helps you practice consistency. By this point, you have already learned what a canal bridge scene demands, and now you can refine your technique.
What you should work on: speed. In a lesson format, you will get better results when you can move quickly from idea to shot. This stop is where that habit can start clicking.
Free admission is listed for this stop.
Nieuwmarkt
At Nieuwmarkt, you shoot the area around the square. Public spaces change the problem from composition to storytelling. You might want to capture architecture, street texture, and the general feel of the place.
What you should work on: deciding what your frame is about. It is easy to include too much. A good photo usually picks one main subject and supports it with the surrounding environment.
Free admission is listed for this stop.
Huis Bartolotti (Museumhuis Bartolotti)
The final stop is Huis Bartolotti, also referenced as Museumhuis Bartolotti. This is a strong closer because it gives you a detailed subject to finish on.
What you should work on: your final refinements. By the end of the session you have probably corrected focus habits and improved your exposure choices. Use the last stop to apply everything you learned without waiting for the next instruction.
Free admission is listed for this stop, and the session ends back at the meeting point.
Daytime Versus Evening: What Changes and How to Prep
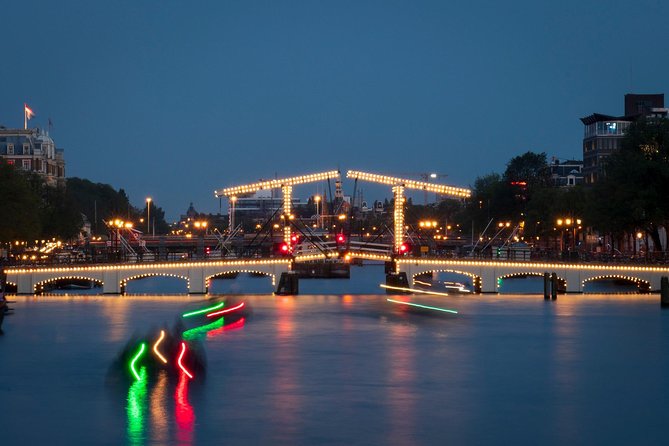
You can choose between daytime and evening tours, and that choice affects more than just the sky color. In a night or low-light setup, your DSLR settings become your main tool. You cannot rely on fast shutter speeds if you do not have light.
This is where the teaching style matters. In particular, I found the emphasis on night-photo setup especially meaningful from guidance given by instructors like Renzo. People noted that he helped them learn how to shoot night photos successfully, including practical settings help. That is exactly what you want if you have struggled with dark scenes before.
If you choose an evening slot, plan to:
- bring your fully charged camera battery
- think about extra light sources in the scene you want to photograph
- dress for cold and damp walking, since you will be outside for the full route
The good news is that the tour runs in all weather, so if the forecast looks iffy, you are not backing out. You are just coming prepared.
How the Pro Photographer Coach Helps You Improve Quickly
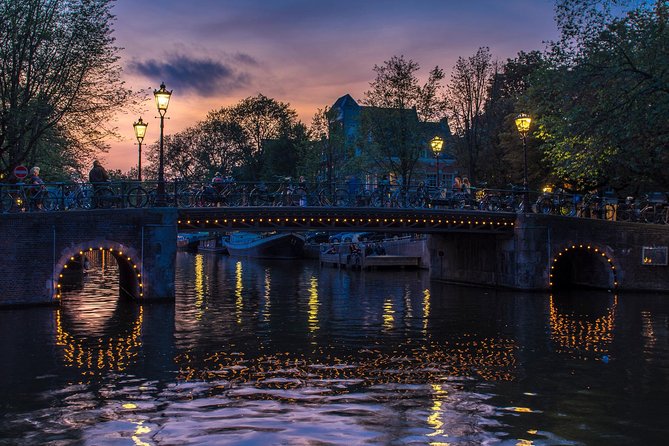
A DSLR lesson is only useful if it turns your camera into a tool you understand. The most praised aspect here is the teaching quality, with lots of time spent explaining how to shoot and how to fix what is not working.
Two themes show up clearly in feedback about the instructors:
- Tailored guidance: You do not get one generic explanation. The session can be adjusted to the type of photos you want.
- Actionable camera settings: Instead of vague tips, the instruction connects settings to results, then you practice on real Amsterdam subjects.
People also highlighted that instructors can take things step by step. One person mentioned starting with not knowing their camera capabilities, then quickly learning how to shoot night photos after Renzo’s coaching. That kind of structure is ideal if you are not fluent yet with exposure, shutter speed, or focusing.
Another common praise point was the tone. Instructors were described as polite and patient, and the pacing gave people time to try shots. That combination matters in a private session, because you feel comfortable asking questions instead of guessing.
What to Bring: DSLR, Optional Tripod, and the Small Stuff That Matters
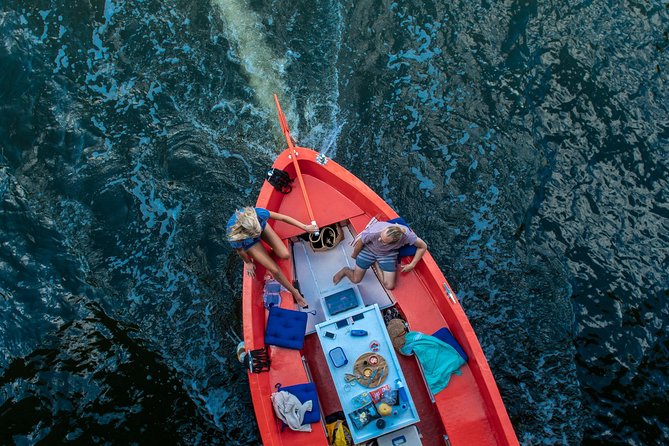
The tour explicitly asks you to bring your own DSLR camera. The lesson is built around hands-on settings practice, so showing up without the camera is not an option.
It also says tripod available upon request. That is helpful if you do want steadier night shots or longer exposures, but it is not automatically included. If you want to use one, request it in advance so you do not get stuck.
Not included:
- camera
- food and drinks
So you will want to think about a light snack before you go, especially if you are doing the lesson near dinner. Since you are walking between stops, you will likely prefer to carry only what you truly need.
The session is in English, and it is near public transportation, which makes it easier to fit into your Amsterdam day even if you are staying outside the center.
Who This Tour Is Best For (and Who Might Skip It)
This masterclass is a great fit if:
- you have a DSLR and want to use it more confidently in real street scenes
- you want a structured walk through specific Amsterdam landmarks rather than wandering
- you are choosing between day and night and want the lesson to match the lighting
- you like getting direct feedback and camera settings help while you shoot
You might consider another option if:
- you do not have a DSLR and do not want to borrow one
- you only want a casual photo walk with zero instruction
One quiet advantage is that the lesson is private for your group, max 4 people. If you want learning time without feeling crowded, this format usually works better than larger group tours.
Should You Book This Amsterdam Photography Masterclass?
If you are the type who wants better photos, not just more photos, I think this is worth booking. The biggest selling points are the hands-on teaching, the practical camera settings help, and the fact that you shoot at nine meaningful stops during the same 3-hour session.
It also gets major credit for night-photo instruction. If you have ever looked at your own low-light images and thought, why does mine look flat or blurry, a session like this can give you a clear path forward, fast.
Book it if you can bring a DSLR and you are willing to walk and practice. If you are comparing options, this one stands out because you get both a local guide and a professional photographer guide, and the route is designed for learning, not just sightseeing.
FAQ
How long is the Amsterdam Photography Masterclass?
It lasts about 3 hours.
Where does the tour start and end?
The start meeting point is Leidsekade 97, 1017 PN Amsterdam. The tour ends back at the meeting point.
Is this a private tour?
Yes. It is private, and only your group participates. The maximum group size is 4 people per booking.
What language is the instruction in?
The tour is offered in English.
Do I need to bring my own camera?
Yes. You should bring your own DSLR camera.
Is a tripod included?
A tripod is not included, but it is available upon request.
Does the tour run in bad weather?
Yes, it operates in all weather conditions. Dress appropriately for the weather.
Latest Amsterdam reviews
- Small Group Tulip and Spring Flower Fields Bike Tour★ 4.5 · 14 reviews
- Amsterdam Van Gogh Museum Private Tour for Kids & Families★ 4.0 · 14 reviews
- Zaanse Schans Windmills Private Tour from Amsterdam Airport★ 5.0 · 14 reviews
- Bruges Day Trip from Amsterdam★ 4.5 · 14 reviews
- Volendam: Volendams Museum Entry Ticket★ 4.4 · 14 reviews
- Departure from Amsterdam City to Amsterdam Airport AMS by Minivan★ 5.0 · 14 reviews
- Zaanse Schans Windmills, cheese and clogs and Volendam tour from Amsterdam★ 5.0 · 14 reviews
- Walking Tour about Golden Age Architecture, private local guide★ 5.0 · 15 reviews
Photography Sessions, compared.
Amsterdam Canal, Tulip, Windmill Photoshoot | Custom Request
Read our review →Amsterdam Canal, Tulip, Windmill Photoshoot | Custom Request
Read our review →
Premium Romantic Photoshoot Experience for Couples
Read our review →
Taking Pictures in the Tulip Field at De Tulperij
Read our review →
Personal Travel & Vacation Photographer
Read our review →
Browse the lists this tour appears in